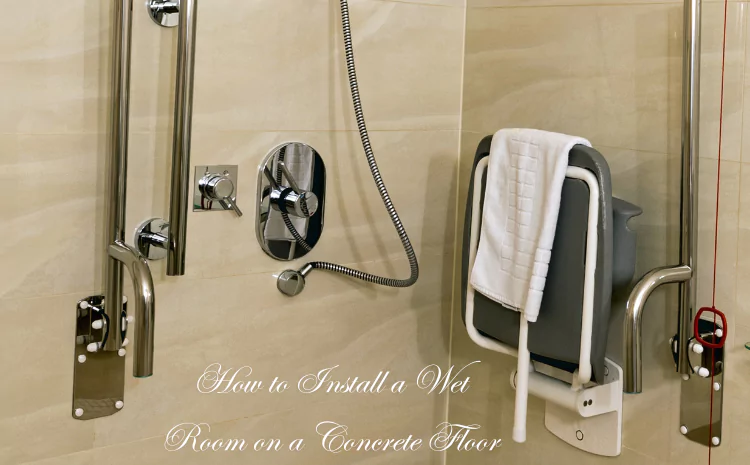
Installing a wet room on a concrete floor is a great way to create a modern, open-plan bathroom. Wet rooms offer seamless designs where the shower area blends with the rest of the room, making it both functional and stylish. If you’re wondering how to install a wet room, especially on a concrete floor, this guide will walk you through the essential steps.
Key Takeaways
- Concrete floors are strong and durable, making them ideal for wet rooms.
- Proper waterproofing is critical to prevent water damage.
- Shower drains and slope are essential for water flow in a wetroom.
- A smooth, even floor surface is key to a successful installation.
Preparing the Concrete Floor
The first thing to consider when installing a wet room is preparing the concrete floor. Whether you’re building on a ground floor or an existing concrete slab, the preparation will make the installation smoother and ensure a proper finish.
Does the Floor Need Tanking?
One of the most common questions when building a wetroom on concrete floors is whether the floor needs tanking. For concrete floors, full tanking is often unnecessary since concrete is naturally water-resistant. However, areas like the shower floor still need proper waterproofing to protect from moisture.
| Concrete Floor Type | Waterproofing Needed? | Why? |
|---|---|---|
| New Concrete Floor | Yes, especially around the shower drain | To prevent leaks and water damage |
| Existing Concrete Slab | Partial, for uneven or cracked areas | To protect weak spots from moisture |
Plan Your Wet Room Layout
Before starting the installation, plan your wet room layout carefully. Decide where the shower will go and how water will drain. If you’re working with a small space, consider using space-saving fixtures.
Key Points for Wet Room Layout
- Place the shower in a location with good access to plumbing.
- Ensure that the water will drain properly by creating a slight slope in the floor.
- Keep enough space around the shower area to prevent splashing water from damaging other parts of the room.
Layout Table
| Room Size | Suggested Shower Placement | Drain Location |
|---|---|---|
| Small Room | Corner or along the far wall | Corner drain to maximize space |
| Medium Room | Alongside a wall | Linear drain for easy flow |
| Large Room | Freestanding shower in center | Center drain to catch all water |
Install the Wet Room Drain
Once the layout is set, the next step is to install the wet room drain. The most important part of a wetroom installation is ensuring proper drainage. If water doesn’t flow out efficiently, it can cause mold and damage.
Installing the Drain on a Concrete Floor:
- Dig the concrete: If your concrete floor is solid, you may need to dig a channel to set the drain.
- Install the drain system: Use a shower drain with a built-in slope to help direct water flow.
- Connect the plumbing: Make sure the drain connects securely to your home’s waste system.
| Type of Drain | Ideal For | Installation Difficulty |
|---|---|---|
| Linear Drain | Large showers, sleek design | Moderate |
| Point Drain | Small showers, centered | Easy |
Create the Slope for Water Drainage
A wet room floor requires a slope to allow water to flow into the drain. Typically, you need a gradient of about 1.5% toward the drain.
How to Build the Slope:
- Laying screed: Use screed to create a smooth, even surface that slopes gently toward the drain.
- Checking slope: Use a spirit level to ensure the slope is consistent across the entire wet room floor.
Slope and Screed Table:
| Room Size | Slope Ratio | Screed Thickness |
|---|---|---|
| Small Wet Room | 1.5% slope | Thin screed (0.5 inches) near the drain |
| Medium Wet Room | 1.5% slope | Medium screed (0.75 inches) |
| Large Wet Room | 1.5% to 2% slope | Thicker screed (1 inch) for larger areas |
Waterproofing the Wet Room
Waterproofing is critical in any wet room installation. Even though the concrete floor does not really need tanking entirely, applying waterproof membranes to vulnerable areas like the shower and corners is essential.
Steps for Waterproofing:
- Apply a membrane: Use a liquid or sheet waterproof membrane on the shower area and up the walls to about 1.5 feet.
- Seal joints: Ensure all joints between the walls and the floor are sealed with a waterproof tape.
Install the Wet Room Flooring
Once waterproofing is complete, it’s time to lay your wet room flooring. You can choose from a variety of flooring materials, including tiles, vinyl, or cement-based coatings, depending on your style and budget.
Flooring Options:
| Flooring Type | Pros | Cons |
|---|---|---|
| Tiles | Durable, many design options | Can be slippery without non-slip coating |
| Vinyl | Easy to install, waterproof | Less durable, limited design choices |
| Cement Coating | Seamless, modern look | Requires professional installation |
Finishing Touches
After your wet room floor is installed, the final step is adding the finishing touches. Install any remaining fixtures, such as the shower head, shelves, and any accessories. Test the room for leaks and ensure that the drainage system works properly before using it.
Conclusion
Installing a wet room on a concrete floor can be a challenging but rewarding project. Proper preparation, from creating the right drainage slope to choosing the right flooring, is essential for a successful installation. With the right steps, your wet room can become a sleek, modern addition to your home that provides both function and style.


