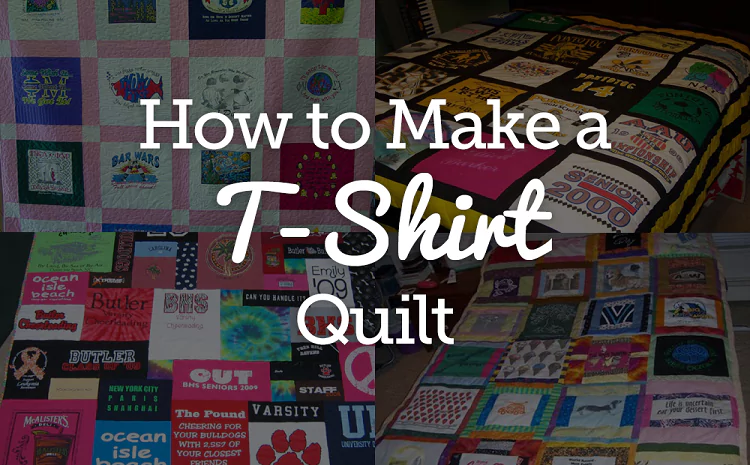
Making a t-shirt quilt is a fun and creative way to preserve memories. Whether you have a collection of old t-shirts from sports teams, concerts, or events, a t-shirt quilt allows you to turn them into something useful and sentimental. If you’re a beginner, don’t worry—this tutorial will guide you through the simple steps of making a t-shirt quilt from start to finish.
Key Takeaways
- T-shirt quilts are an easy and personal way to repurpose old shirts.
- With basic sewing skills and a few supplies, you can create a simple t-shirt quilt.
- Start by organizing your shirts, preparing them, and following a step-by-step process.
Materials You’ll Need to Make a T-Shirt Quilt
Before you start your t-shirt quilt, gather all the materials you’ll need. This ensures a smooth process and allows you to work efficiently.
Materials List:
- T-shirts (at least 12 for a small quilt)
- Iron-on interfacing (to stabilize the fabric)
- Rotary cutter or fabric scissors
- Cutting mat
- Ruler
- Sewing machine
- Quilting thread
- Batting (for the quilt’s middle layer)
- Backing fabric (for the quilt’s back)
| Material | Purpose |
|---|---|
| T-shirts | The main design of your quilt. |
| Interfacing | Stabilizes stretchy t-shirt fabric. |
| Batting | Provides warmth and thickness to the quilt. |
Step-by-Step Guide to Making a T-Shirt Quilt
Now that you have your materials ready, let’s go through the steps of how to make a t-shirt quilt.
Select and Prepare Your T-Shirts
The first step in creating a t-shirt quilt is selecting the t-shirts you want to use. Choose shirts with designs that hold sentimental value or ones that you no longer wear.
Once you’ve selected your shirts, prepare them by washing and drying them. This removes any dirt and ensures the fabric is ready for quilting.
Cut the T-Shirts Into Panels
Using a rotary cutter or fabric scissors, cut the front of each t-shirt into a square. You can also cut the back of the shirts if you want to use both sides.
Tip: Use a ruler to ensure each square is the same size for an even and easy-to-make quilt.
| Task | Description |
|---|---|
| Cut squares | Cut uniform squares from each t-shirt. |
| Use a ruler | Ensures all squares are the same size. |
Apply Interfacing to Stabilize the Fabric
T-shirt fabric can be stretchy, which makes sewing difficult. To make the fabric easier to work with, iron on interfacing to the back of each t-shirt square. This helps stabilize the fabric and prevents it from stretching or curling.
| Step | Description |
|---|---|
| Iron-on interfacing | Adds stability to the stretchy fabric. |
| Apply to all squares | Ensure each square is reinforced. |
Arrange and Sew the T-Shirt Squares Together
Now comes the fun part: arranging your t-shirt squares into a pattern. Lay them out on the floor or a large table to see how the quilt will look once completed.
Once you’re happy with the layout, start sewing the squares together in rows. After completing each row, sew the rows together to form the full quilt top.
| Step | Description |
|---|---|
| Arrange squares | Lay out your design before sewing. |
| Sew rows | Stitch squares together, one row at a time. |
Add Batting and Backing Fabric
With the quilt top finished, it’s time to add the batting and backing fabric. Lay the batting on a flat surface, then place the backing fabric on top. Finally, place your quilt top on the backing fabric, making a sandwich of all three layers.
| Layer | Description |
|---|---|
| Batting | Adds warmth and thickness to the quilt. |
| Backing fabric | Provides a finished look for the quilt’s back. |
Quilt the Layers Together
To finish your t-shirt quilt, you need to quilt the three layers together. Use your sewing machine to sew through all three layers, either by stitching along the seams or by creating a decorative pattern.
| Task | Description |
|---|---|
| Quilting | Sew through all three layers to hold them together. |
| Pattern options | Use straight lines or decorative stitches. |
Bind the Edges
The final step in making a t-shirt quilt is binding the edges. Cut strips of fabric for the binding and sew them around the outer edges of the quilt. This gives your t-shirt quilt a clean, finished look.
| Step | Description |
|---|---|
| Binding | Adds a neat edge to your quilt. |
| Sew the binding | Use coordinating fabric to match your design. |
Tips for Beginners Making a T-Shirt Quilt
If you’re new to t-shirt quilt making, here are a few tips to help you:
- Start simple: Don’t worry about creating a complex pattern—focus on getting comfortable with the basics.
- Use a sharp rotary cutter: This makes cutting the t-shirt fabric easier and more precise.
- Iron frequently: Keeping your fabric smooth and wrinkle-free will make the sewing process much easier.
Conclusion
Making a t-shirt quilt is a fun and rewarding project that beginners can easily tackle. By following this step-by-step tutorial, you can create a t-shirt quilt that preserves your memories while offering a cozy, practical keepsake. Start with simple designs, take your time, and soon you’ll have a beautiful quilt made from your favorite shirts. Whether for yourself or as a gift, a DIY t-shirt quilt is a great way to give new life to old clothing.