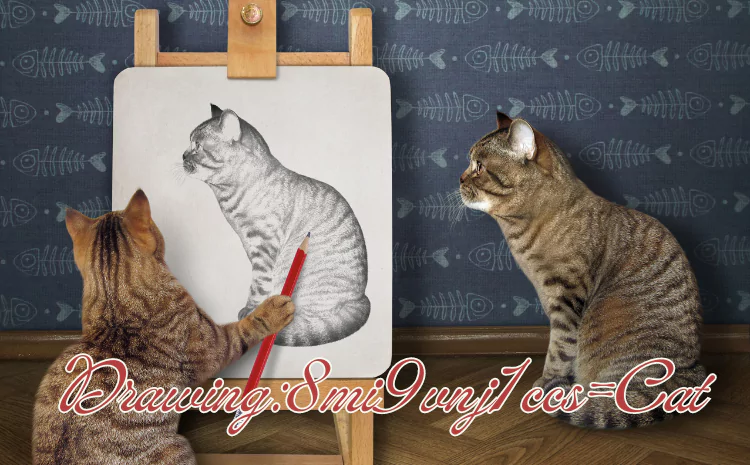
Drawing cats is not just a fun activity; it’s an art form that combines creativity with observation skills. Whether you’re an aspiring artist or just looking for a new hobby, mastering cat drawings can bring a sense of accomplishment and joy. In this comprehensive guide, you’ll learn everything from basic shapes to advanced techniques, helping you create realistic and expressive cat portraits.
Getting Started
Before you dive into drawing cats, it’s essential to gather the right materials and understand the basic anatomy of these fascinating creatures.
Essential Drawing Materials
You don’t need a lot of fancy tools to start drawing. Here’s a list of basics:
- Pencils (preferably HB to 4B for varying darkness)
- Erasers (both kneaded and precision tip)
- Paper (sketch or drawing paper)
- A ruler (for straight lines and proportions)
Understanding Basic Cat Anatomy
Cats have a unique structure that can be broken down into simple shapes. Understanding the proportions and anatomy will help you achieve more realistic results.
Basic Cat Shapes and Proportions
Start by breaking the cat’s body into basic shapes:
- Head: Draw a circle.
- Body: Add an oval shape slightly larger than the head.
- Limbs and Tail: Sketch out simple lines and shapes for legs and tail.
Sketching the Cat
Drawing the Head and Ears
Begin with a circle for the head. Add two triangles on top for the ears, adjusting their size and shape based on the cat breed.
Creating the Body Outline
Connect the head to the body with a smooth curve. Sketch out the legs using cylindrical shapes, and add a long, curved line for the tail.
Adding Limbs and Tail
Draw the limbs by outlining the basic shapes you created. Add the tail with smooth, flowing lines.
Details and Refinement
Facial Features: Eyes, Nose, and Mouth
Focus on the eyes, which are often the most expressive feature. Draw two almond shapes and add pupils. The nose is a small triangle, and the mouth consists of simple lines extending from the nose.
Fur Texture and Patterns
Use short, curved strokes to create fur texture. Pay attention to the cat’s natural fur patterns and replicate them as closely as possible.
Paws and Claws
Draw the paws with small, rounded shapes. Add claws by sketching tiny, pointed lines at the tips of each paw.
Adding Depth and Texture
Shading Techniques
Use varying pencil strokes to create depth. Lightly shade areas that are farther from the light source and darken areas in shadow.
Creating Realistic Fur
Apply more detailed shading and texture to mimic the look of fur. Follow the natural flow of the fur in your drawing.
Highlighting and Shadowing
Add highlights to areas where light hits the fur directly, and deepen shadows where the light is obstructed.
Different Cat Breeds
Drawing Short-Haired Cats
Short-haired cats have a sleek appearance. Focus on smooth lines and subtle shading.
Sketching Long-Haired Cats
Long-haired cats require more detailed fur texture. Use longer strokes and varying lengths to capture their luxurious coats.
Unique Breeds and Their Features
Each breed has distinct features, such as the Siamese’s slender body or the Maine Coon’s bushy tail. Study these characteristics to improve your breed-specific drawings.
Dynamic Poses and Expressions
Capturing Movement
To draw a cat in motion, break down the action into simple stages. Sketch the movement from start to finish to understand the flow.
Expressing Emotions Through Poses
Use body language and facial expressions to convey different emotions, such as curiosity, playfulness, or relaxation.
Coloring Your Cat Drawing
Choosing the Right Colors
Select colors that match the cat’s fur pattern. You can use colored pencils, markers, or digital tools for this.
Techniques for Coloring Fur
Apply color in layers, starting with a base color and adding details and shading to create a realistic effect.
Blending and Layering Colors
Blend colors smoothly for a natural look. Layering different shades will add depth and dimension to your drawing.
Common Mistakes and How to Avoid Them
Proportions and Perspective Issues
Check your proportions regularly. Use guidelines to ensure that all parts of the cat’s body are in harmony.
Overcoming Drawing Challenges
Practice regularly and seek feedback from other artists. Identify areas of difficulty and work specifically on improving them.
Advanced Techniques
Using Reference Photos
Photos can provide valuable insights into fur texture, anatomy, and color patterns. Study them closely to enhance your skills.
Experimenting with Styles
Don’t be afraid to try different artistic styles. Experimenting can help you find a unique approach to drawing cats.
Digital vs. Traditional Drawing
Pros and Cons of Digital Art
Digital drawing offers flexibility and easy corrections but requires access to technology and software.
Benefits of Traditional Techniques
Traditional drawing can be more tactile and immediate, giving a different artistic experience.
Final Touches
Reviewing and Enhancing Your Artwork
Take a step back and review your drawing. Make any necessary adjustments to enhance its overall appearance.
Adding Personal Artistic Flairs
Add your unique touch to the drawing. Whether it’s a playful background or a special detail, make the artwork your own.
Practice and Improvement
The Importance of Regular Practice
Consistent practice is key to improving your drawing skills. Set aside time regularly to draw and refine your technique.
Resources for Continued Learning
Utilize online tutorials, art classes, and books to continue learning and developing your skills.
Conclusion
Drawing cats can be an incredibly rewarding experience. By understanding the basics, refining your techniques, and practicing regularly, you can create beautiful and lifelike cat drawings. Remember, every artist starts somewhere, and the key to improvement is persistence and passion.


